Installing an Atoto Android Head Unit in a Nissan Xterra: 2013-2015 Xterra Pro-4X Stereo Head Unit Upgrade with Wiring Harness Chart.
or
Installing an Atoto S8 Ultra Gen 2 in a Nissan Xterra or Frontier with a Rockford Fosgate amplifier and subwoofer.
(Thanks to those that came before, especially packpride85 from TheNewX.org. I wouldn't have done this project without your pioneering the work.)
I have a 2014 Nissan Xterra Pro-4x with 5.8 display, navigation and Rockford Fosgate powered audio system including an amplifier, enclosed subwoofer and 9 speakers and this post should apply to the 2013-2015 Xterra Pro-4X. (It should also apply to the 2013-2021 Frontier Pro-4X and SL with the Rockford Fosgate system and 10 speakers)
The Rockford Fosgate system includes a well liked 380W DSP amplifier. The system also has Rockford Fosgate’s “PUNCH bass tuning” (I found this “Punch tuning” overemphasized the bass and was happy to find this goes away with a new head unit). The Xterra has 7 speaker channels and 9 speakers (I think the Frontier has an extra subwoofer speaker for 10 total speakers). The speakers are fairly nice and designed to mate with the Rockford Fosgate amplifier. Note that if you want to upgrade the speakers or amp you will likely have to upgrade both at the same time, as they are a low impedance (2 ohm) system and will likely not work properly unless they are matched.
I was pleased with the OEM sound (after turning down the over-punched bass) but I was unhappy with the navigation and other music apps or lack thereof. After a bit of research I found that while many name brand units offer Android Auto or Apple CarPlay, they don’t allow you to run apps on the head unit itself. If you want to run a mapping application or even google maps on the head unit itself, you need an Android head unit.
I also wanted to retain the Rockford Fosgate amplifier, subwoofer, speakers and all of the OEM features: steering wheel controls, backup camera that automatically comes on in reverse, USB and AUX in the console between the seats, GPS antenna, and the FM antenna.
After a bunch of research on head units, I chose the Atoto S8 Ultra Gen 2.

This unit is readily available on Amazon in the USA and has many users here. There are other good units, like the Joying, that seem preferred in other countries.
The Atoto S8 Ultra Gen 2 (S8G2A78UL-N) features a 7 Inch QLED display that fits well in the dash, Android in-Dash Navigation (no phone required), Wireless CarPlay & Wireless Android Auto, Dual BT w/aptX HD, Gesture Operation, Rear View Camera, a built-in 4G Cellular Modem, 4G RAM and 64G Flash Storage.
This is an Android head unit, meaning it actually runs Android, just like a tablet or phone. It can also do wireless Android Auto and wireless Apple Carplay. Now, I think most people don't need a full blown Android head unit like this. The benefit of it is that you don't need a phone connected to the unit to run any apps. And the unit can run apps like Torque for OBD, or a music app to manage a large music library on an attached USB drive. You can play YouTube, etc. You can also run an off-road mapping app right on the head unit. (But note that while the unit has a very good GPS function, it does not include a compass or accelerometer, so mapping functions can show some confusion when moving slowly and backing up and things like that.) I really wanted a unit like this so my phone was not necessary.
I’m not going to detail all the steps to install the Atoto head unit, just some of the details that I found important.
First let me address a few concerns:
Current drain: I heard some complaints about excessive current drain from the head unit. I bench tested mine before installing it, and about a minute after turning off the ignition the current drain fell to a very reasonable 11mA. I suspect some installers may not configure the ACC wiring correctly. It is important to connect the constant 12 power to the proper input and the ACC wire to the ACC wire from the truck. The ACC wire tells the head unit the truck is off, and that it should turn off soon. Do not wire the ACC to a constant 12V source.
Line level Outputs: I also used the “line level” RCA connector outputs from the Atoto head unit to connect to the OEM Rockford Fosgate amp. I was concerned that this might not include the low frequencies the Amp would need to synthesize the proper signal for the subwoofer. But this was not a problem, the Atoto head unit provides full range signals to the left and right line level output channels and the Rockford Fosgate amp properly sent the necessary signal to the subwoofer.
Is a “Line Out Converter” needed? Some have used a device called a “Line Out Converter” or LOC so they could use the Atoto head unit’s speaker level outputs and reduce those signals with the LOC for the amplifier. I did some testing and the signals direct from the Atoto’s RCA line level outputs seem well matched to the Rockford Fosgate amplifier. No “Line Out Converter” is needed.
Popping sounds from the speakers at turn on? I have not experienced that. I was careful to properly connect the Constant +12V, ACC and "amp turn on" connections to their respective connections. I suspect some who experience popping sounds at turn on do not have the "amp turn on" signal properly connected from the head unit.
System Update
The first thing I did was "bench test" my unit to makle sure everything worked properly. And then I updated the software on the unit. The latest update was required for Wireless Android Auto to work.

"Secret" Atoto Upgrade Site: https://resources.myatoto.com/operation-guide/upgrade-info/index Note this site seems to be in a "phone" web format.
The Wiring Harness
Making the wiring harness is the hardest part of the project. You remove the OEM radio and unplug all the connectors on the back of it. Then you plug adapters into those harness so you can connect the existing vehicle wiring to the new head unit.
Here are the harnesses and connectors that I used:
- Metra 70-7552 Radio Wiring Harness For Nissan 2007-Up/Select Subaru 2008-Up
- CESS-064-1f Speaker Cables to RCA Plugs Adapter, 2-Channel (1 Foot) (2 needed)
- Metra Electronics 40-NI12 Antenna Cable to Aftermarket Radio Adapter for Select 2007-Up Infiniti/Nissan Vehicles,Black
- Axxess AXNISUSB2 Fits Nissan USB Adaptor Retain OE USB Retention Metra Harness
- Axxess AXBUCS-NI246V Back Up Camera Ret Harness w/ SWC for select Nissan 2011-Up (SWC connection not used for this vehicle)
- aide Electronic GSM Antenna Extension Cable Fakra D Female to SMA Male Connector pigital Cable RG174 20cm (15cm)
- onelinkmore SMA Female to Female Barrel Adapter Antenna Jack Adapter for Antennas Wireless LAN Devices Coaxial Cable Pack of 2
- Eightwood Fakra C Plug to SMA Plug Male Car GPS Antenna Cable 6 inch for Vehicle GPS Navigation Radio Stereo Head Unit GPS Receiver
I made a chart showing to connect the Atoto head unit harness and back panel connectors to these harnesses.You read this chart across the rows, for example: On the Atoto Harness, pin 13, the pink wire connects to the AXBUCS-NI246V harness's pin 28 green/purple wire.

Here is a picture of the completed harness. I used a Wirefly heat shrink butt connectors and the appropriate Wirefly crimper.


I didn't want the cables to rattle in the dash, so I wrapped them with soft foam adhesive weatherstripping:

Mounting brackets for the head unit
The Atoto 7" head unit is requires and adapter to fit properly in the dash. I tried two versions.
Below, on the left is the Metra95-7619 Car Stereo Installation Dash Kit for 2013-Up Nissan Frontier/Titan/Xterra, (Black)It did fit well, but will need thin large washers under the screws into the plastic. Also the plastic brackets provide no inherent chassis ground. And finally, I did not like how it framed the Atoto screen, the sides are deep and square.
On the right is the Ai NDK780 2011-2014 Nissan Multi Dash Kit Single ISO , Black attached to the factoru metal bracket and the Atoto radio.

The NDK780 trim kit comes in 3 pieces that snap together. I trimmed it a bit so the pieces fit together better and then used superglue to assemble them permanently.

Unfortunately the neither the holes in this trim piece nor in the Nissan factory bracket line up properly with the side winds that come with the Atoto radio. I slotted the hole in the NDK780 plastic trim as shown below.

And I slotted the holes in the factory Nissan brackets as well. I have marked those with red circles on the bracket below. It is necessary to do this to both brackets.

And here is the Atoto radio installed in the dask panel using the Atoto side wings, the factory metal brackets and the NDK780 trim kit:

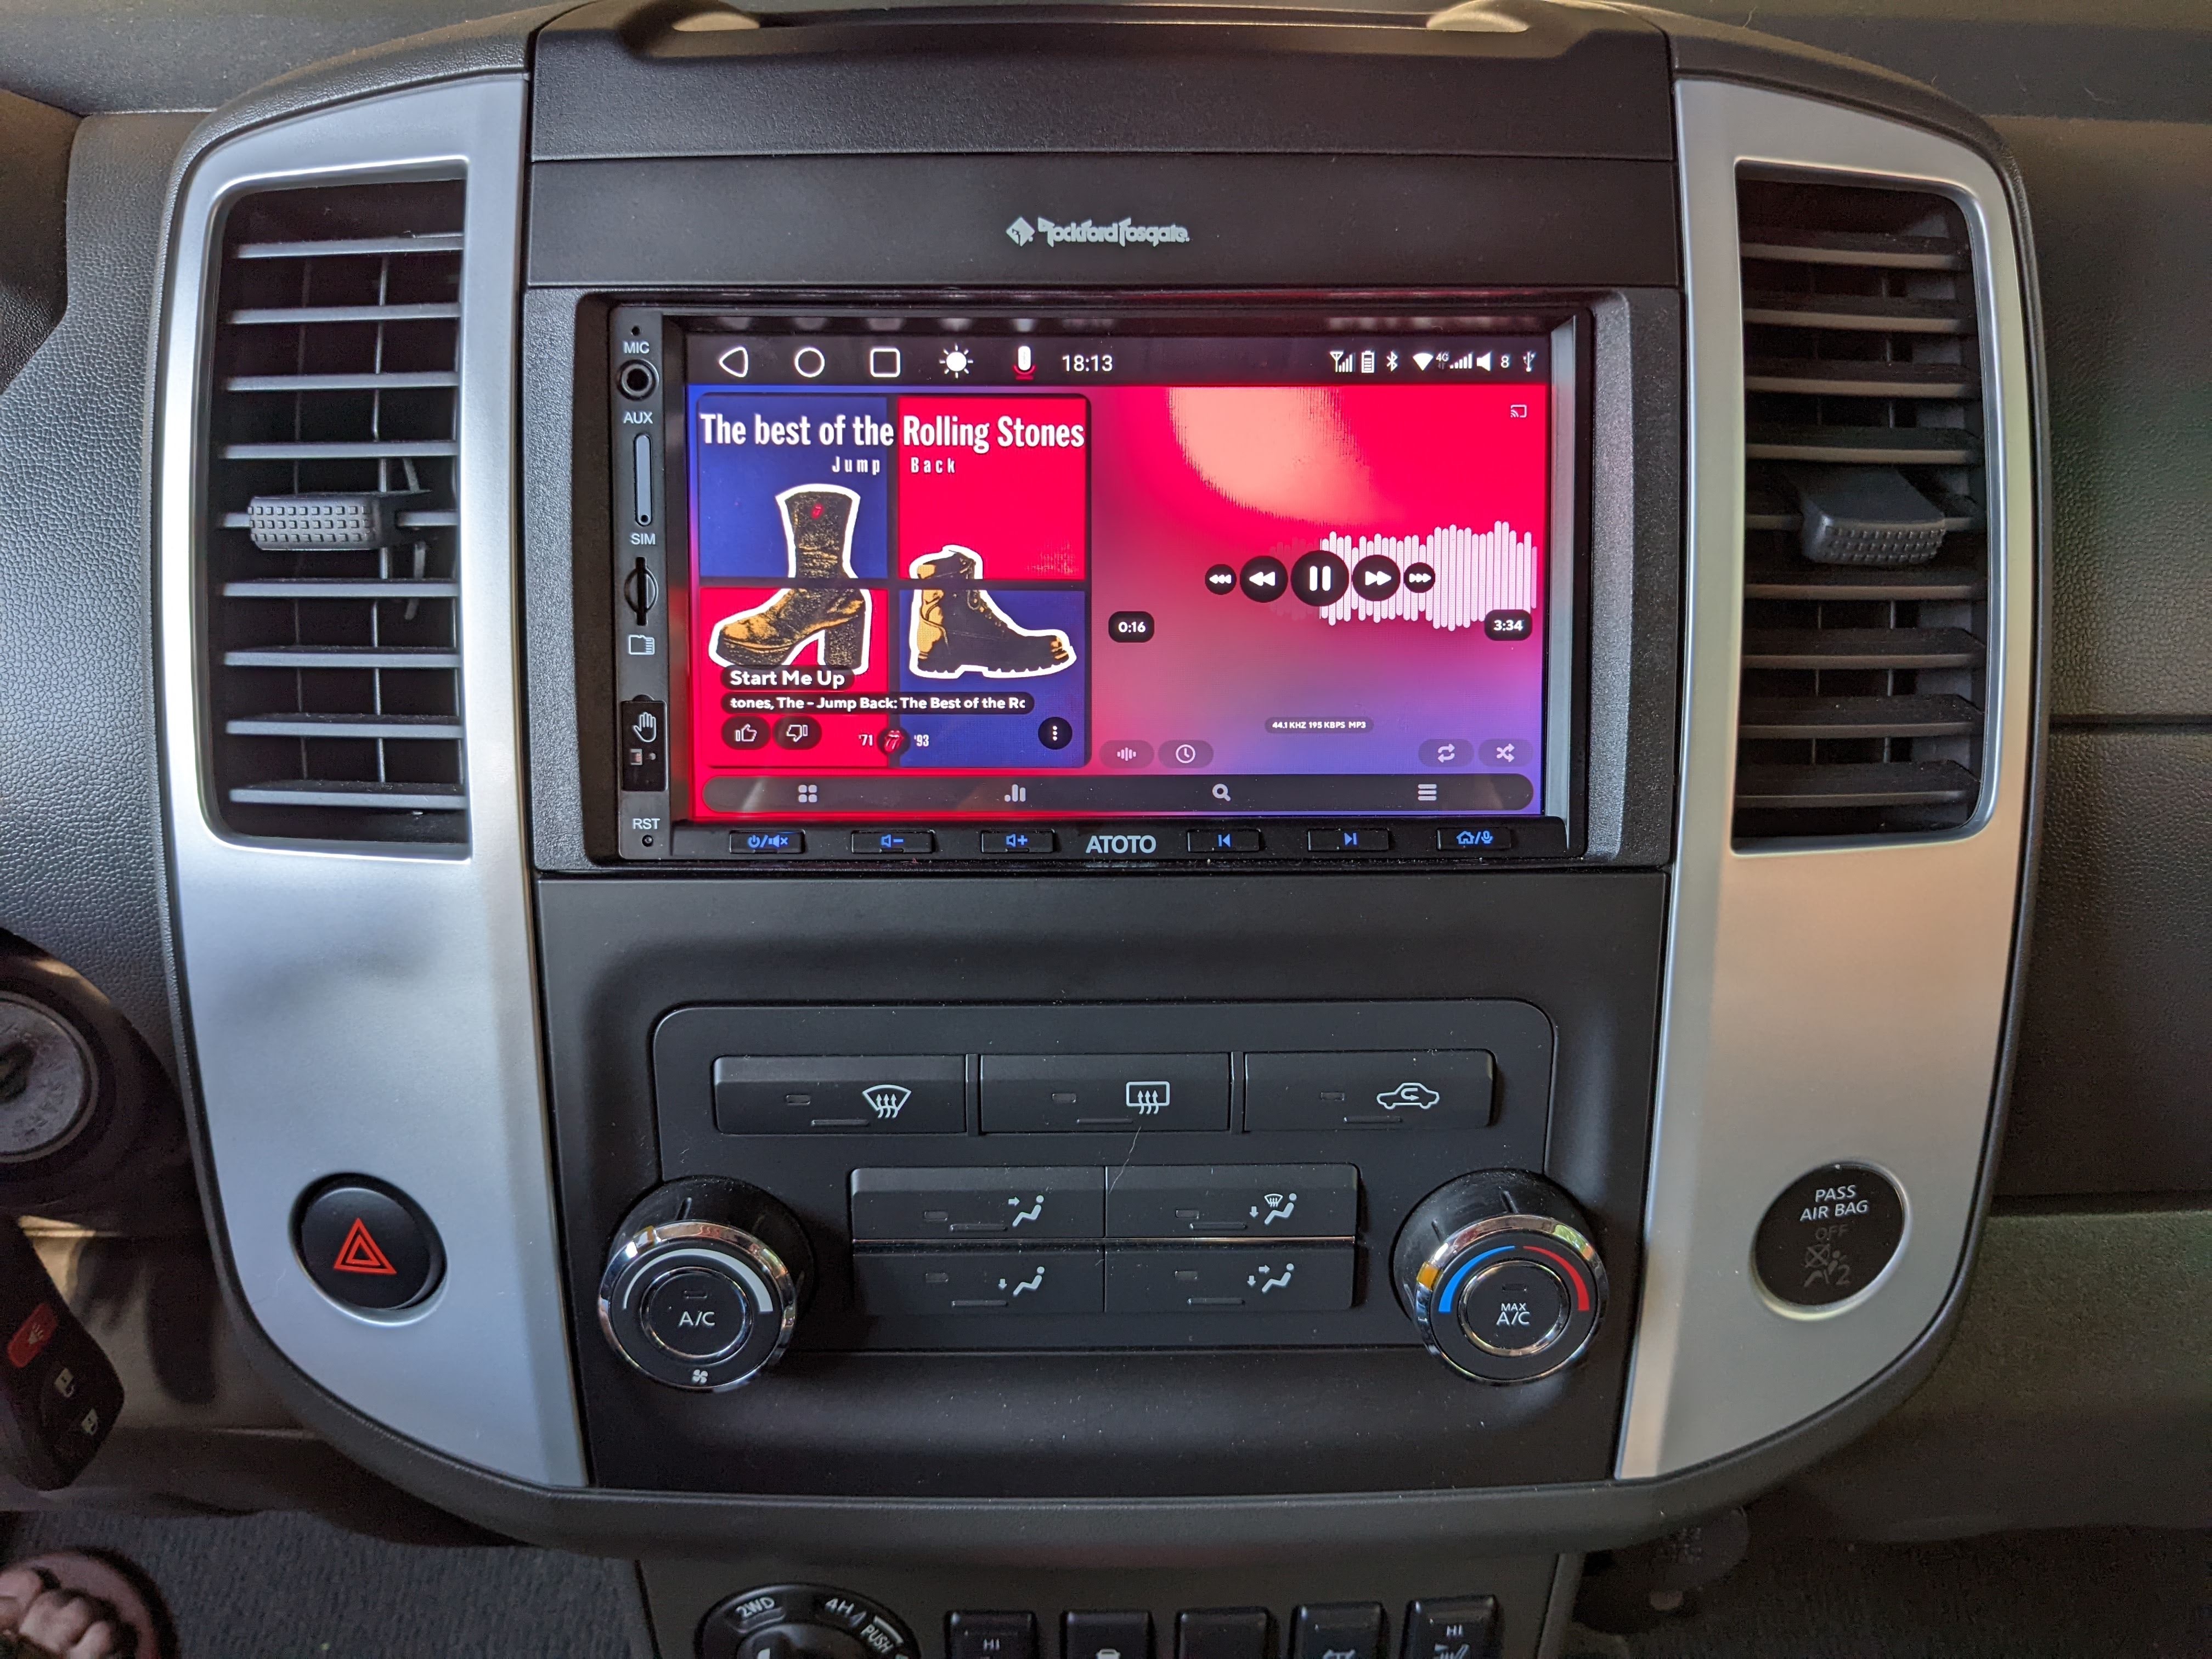
Installed!
And then I put the truck back together... and it looks great!

In the picture above you can see the trim kit has beveled edges on the left and right side: the dash slopes in to the face of the display. This is why I preferred this trim kit. The other Metra trim kit has sides that are square to the display and does not have these sloped sides.
Output Level Testing
Before I removed the original Rockford Fosgate head unit, I ran it through a series of tests with pink noise and a few test tones. I wanted to see what levels the unit put out through each channel at different volume settings. I chose to test at 1/4, 1/2 and 3/4 volume settings for most of the tests.
Interestingly, the stock volume seemed biased be louder from the right speakers... this is probably to make the sound more symmetrical for the driver.
I ran the same tests with the Atoto unit. Note the Atoto default has the loudness set on and I tested it that way. I also ran a few of the tests with the Loudness set off, that data is in [x]. It did not seem to make a significant difference.
I interpret these results to show that using the Atoto RCA connector line level outputs with the original Nissan Rockford Fosgate amp is perfectly appropriate.

Other Notes
- Wireless Android Auto works fine! However, I prefer to disable that so that I am using the built in Android on the Atoto. This allows me to more easily use the various apps on the head unit.
- The backup camera was too dim at first, but was fine after Iturned up brightness and adjusted lines in the app, just touch the screen while in backup mode to see the settings screen.
- The radio volume was too loud compared to the other sources. I found that it was boosted in the secret* settings and I lowered it to normal.
- You may need to install a particular "Files" app for some apps to work properly. For instance some Android music players may not be able to find music on an external USB drive. You need to install the proper DocumentsUI for Android 10. Without it you can't write to an external USB drive with other file managers. That is because the documentsUI is missing. Install it, open it once and afterwards your file managers can use it to get access.
- Note: this installs a "different" Files app from the one currently on the google store. I'd suggest removing the current/new "Files by Google" app if you install this one via DocumentsUI.
*Secret Settings & Password
In case don't know this already, you can access the secret OEM settings on the ATOTO S8 unit this way:
Settings > System, click this option four times continually >input 3368, you will enter into the secret OEM Settings.
Three small problems I had to solve after the Installation
I think these were all caused by doing some testing in the truck without all the dash wiring connected or by leaving the truck battery disconnected for a couple days.
- I had an engine warning light. I disconnected the battery for an hour and drove the truck again and the engine warning light was off.
- the airbag warning light was on. This was probably caused by testing the head unit in the car with the passenger airbag light disconnected. I followed these directions to clear the airbag warning light.
- My OBD reader showed a P0603 (ICM Keep Alive Memory Error). I have read this error code comes from having the battery disconnected for an extended time. This is a “permanent” error code, which just means it will persist until the vehicle has been driven enough to determine nothing is wrong. Generally this will go away after some days of driving, but I just took a 30 mile drive with a bunch of stops and it went away. Technically, you have to complete some specific driving patterns to make the code clear. One that I read was to start the vehicle, idle more than 30 seconds, drive more than 5 minutes at highway speeds, stop and idle another 30 seconds before turning the truck off. But it can apparently be more complicated than that.
Screen Protector
I wanted a screen protector as I intend to off road in the desert and sand gets everywhere....
The ones that came with the unit were horrible, but I found some I really like on AliExpress. These are 9H tempered glass:
https://www.aliexpress.com/item/2255800590874337.html I ordered the 153x85mm size. These leave a bit of room on each edge, about 1 mm. This allows for easier installation and removal.
Install was VERY easy compared to those silly plastic ones.
You can see the edge of the protector and the gap it leaves in the picture below.

Alternate Parts
I did not use these, but they are available. Shortcomings that I noticed are listed.
- Metra95-7619 Car Stereo Installation Dash Kit for 2013-Up Nissan Frontier/Titan/Xterra, (Black) fits perfectly, but will need thin large washers under plastic screws. Plastic brackets, no inherent chassis ground, square sides.
- 20-pin Headunit/Radio Wiring Harness with Steering Wheel Switch Wires Compatible with 2007-2019 Nissan | Upgraded Version of The Metra 70-7552 | Harness Includes VSS and SWC pins Note this is NOT made by Metra, VSS vehicle speed sensor wire in wrong place, but unused. Also some unnecessary extra wire splits.
- Keenso Terminal Tools, 5pcs/1 Set DIY Titanium Alloy Automotive Wire Harness Pin Removal Tool Plug Pin Removal Dismount Tool Kit I found this is a good set to move the VSS pin in the connector above... but I didn't use that harness anyway.
- Scosche CRTNN01 Compatible with Select 2010-Up Nissan Pathfinder and Rouge Camera Retention Harness NO AUX audio.
Bonus Extra!
While I had the dash all apart... I decided to "upgrade" one of the charging ports.

Note the transparent cover lets you see the battery status through it. Kind of cool.

Installing this charger was harder than I expected. Removing the stock power outlet either requires a special tool that is hard to find or some real finesse. And getting access behind the dash in this spot isn't easy either.
Here is the power outlet I used: